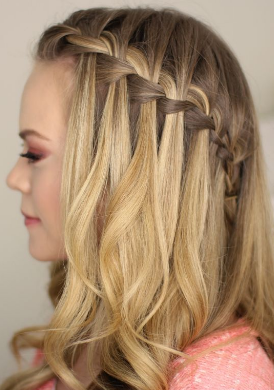
Today I’m going to be showing you a fun hairstyle. It is the last braid in the 20 braids for spring Series. So let’s go ahead and begin to the first step is to section off the hair. And then I’m going to section off a piece right in the front. So about from my ear up to my part.
Separate pins
And I’m just going to separate this with a few bobby pins. Okay. So with the braids we’re going to start at the top and take a section of hair. And then divided into three sections then what we’re going to do is cross the Strand that’s in the back over the middle and then the strengthen the front over the middle.
Section of Hair
And then the Strand in the back crossover the middle and bring in a section of hair. Then this piece in the middle or actually going to drop it down on the other side of the head. If you want to that can be a little bit easier. Then we’re going to take a section from this side and crusted over the middle in place of the Strand that we crossed. So then crosses over and bring in a section of hair added into that strand. And this trend that we would normally crossover next we’re going to bring you to Christ. And then take a section of hair. The night behind it and then add in its place.
Braids hair
And we’re just going to keep working all the way down till we get to the ear. Then once we reach the air, then just continue down in a regular style braids then take their braids and wrap it behind the head and we’re just going to secured in place with a bobby pin.
Am I going to bring down the stair that we had separated?
And now we can raid this part. So take a section of hair right at the top and divided into three sections. I ran across the outside strand over the middle. And then over the middle and bring in a section.
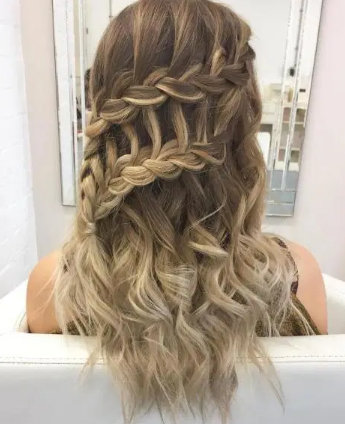
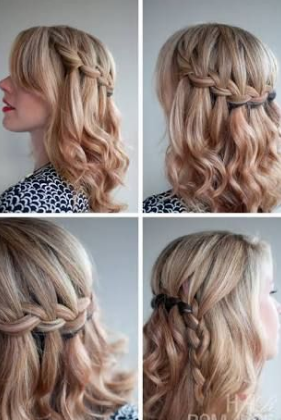
And then with this side, we’re going to bring in our strand. Then just working our way down. Then just keep reading in a regular braid. Team Crafted around back the head and then we’re going to pin in place next to the other one then take a quiz. And placed it over the grade. And then you can take out your bobby pins.
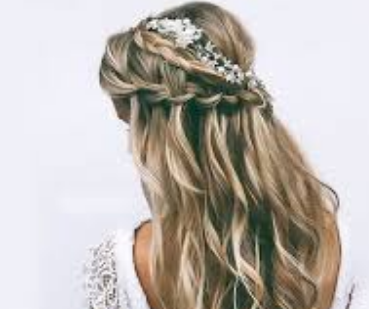
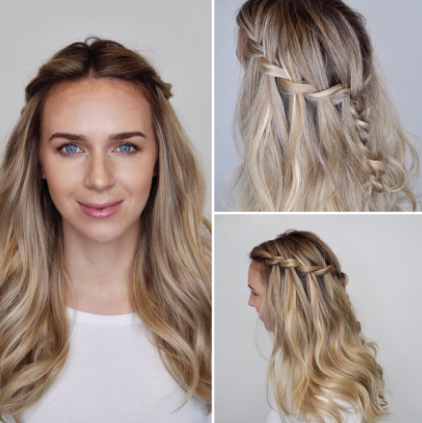
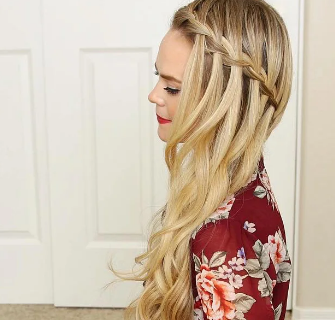
So that is the finished like I hope you enjoyed this tutorial. Thank you so much for watching and I will see you on the next one.
Leave a Reply